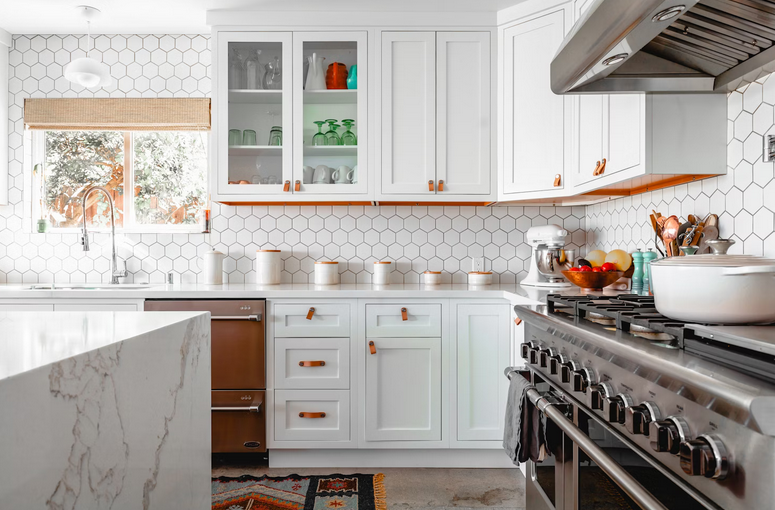
Did you notice that chipped paint on your cabinet doors? Well, it’s time to take action. Leaving chipped paint on your cabinet doors not only looks unsightly but also hugely exposes the wood to moisture and other harmful elements that can cause further damage.
Fortunately, repairing and refinishing cabinets is not that complicated. Right after learning these tips to prevent chipped paint, every homeowner can easily complete this project with a few basic tools and materials. If you’re up for some easy steps to repair and refinish your cabinet doors with chipped paint, then read on.
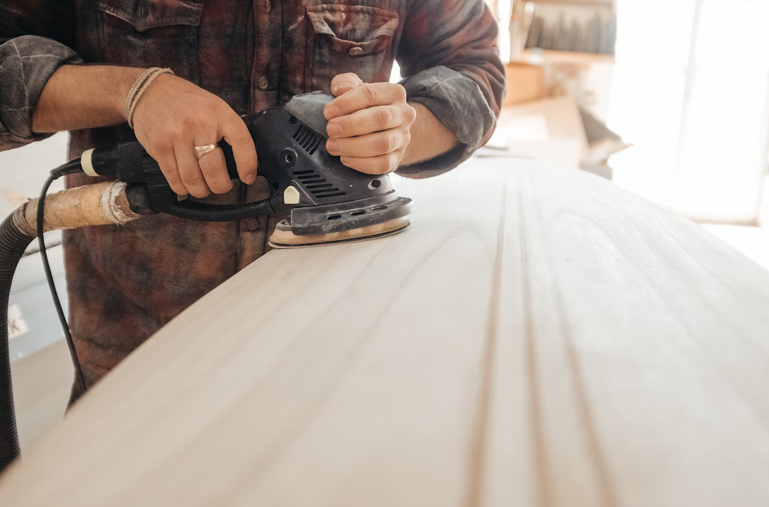
Sand the Surface
Before you can start repairing and refinishing your cabinet doors with chipped paint, the first step is to sand the surface. This crucial step helps to smooth out any rough patches and create a clean canvas for the new paint. Grab some sandpaper with fine grit to gently sand down the areas where the paint has chipped. Be sure to work in the direction of the wood grain for a seamless finish.
Fill in Chips
To fill in chips effectively, use a wood filler that matches the color scheme of your cabinet door to patch up the chipped areas. You want to apply only a little bit of the filler using a putty knife and smooth it out evenly across the entire surface. This will ensure that once you repaint your cabinet doors, they will look as good as new.
Prime the Surface
Doing this will basically ensure that the paint adheres properly and provides a smooth finish. Primer also helps to seal any imperfections on the surface, such as chipped paint or scratches, creating a uniform base for your new coat of paint. So, make sure to grab primer specifically designed for use on wood surfaces. Apply the quality primer evenly using a brush or roller, making sure to cover all areas of the cabinet door.
Apply Thin Coats
Thick layers can lead to drips and uneven finishes, so take your time and apply multiple thin coats for a smooth and professional look. So start by using a high-quality brush or roller to apply the paint you’ve just bought evenly across the surface. Let each coat completely dry before even adding another layer. This will help prevent any streaks or bubbles from forming in the finish. By applying thin coats, you have more control over the amount of paint being applied, resulting in a more even coverage.
Choose the Right Paint
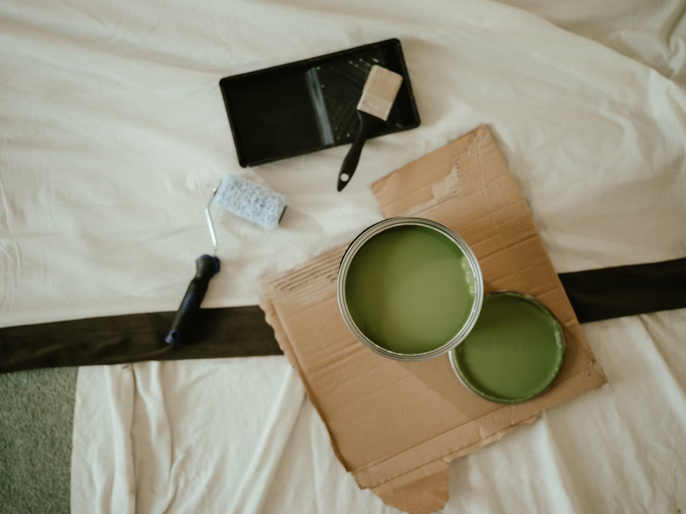
Just like the quality of primer affects the end result, the right paint can also lead to better results. So be sure to choose a high-quality paint that is truly designed for use on cabinets. Going for a paint color that complements your kitchen‘s aesthetic is also crucial. Whether you prefer classic whites or bold blues, the color you opt for can make a huge impact on the overall look of your space.
Seal the Finish
The final step would be to seal the finish. It will not only shield your hard work but also ensure longevity for your newly refreshed cabinets. Sealing the finish creates a barrier against moisture, stains, and everyday wear and tear. Choose a high-quality clear sealant that is compatible with your chosen paint for the best results. Apply the sealant evenly using smooth brush strokes or a foam roller to avoid streaks or bubbles.
Once you’ve sealed the finish, step back and admire your beautifully refurbished cabinet doors – they’ll look as good as you’ve. With a little effort and patience, you can transform your chipped cabinet doors into beautiful focal points in your kitchen and any other room in your home.